

The Block Insights
How to Buy a House in the Philippines: A Complete Step-by-Step Guide
Buying a house in the Philippines is a sequence of decisions, not a single one. This guide walks through the full journey — budget, financing, pre-qualification, due diligence, contracts, taxes, and title transfer — with the decision logic between every step, for first-time buyers and OFWs alike.
Chief Operating Officer, The Block Market
September 4, 2026 · 13 min read · Updated September 13, 2026

Buying a house in the Philippines is not one decision. It is a sequence of ten or so smaller decisions — how much you can really spend, how you will pay, who you are buying from, what you must verify before money moves, and what happens between signing and getting the title in your name. Most buying guides list the steps. Fewer explain the logic between them: why the order matters, where buyers commonly lose money, and which documents actually protect you.
This guide walks through the full journey, from setting a budget to holding a title with your name on it. It is written for first-time buyers, and it applies whether you are purchasing a brand-new house from a developer, a pre-selling unit that has not been built yet, or a resale home from a private owner. The details differ across those three paths — and we will flag where they diverge — but the spine of the process is the same.
Before Anything Else: Know What You're Actually Buying
Philippine house purchases generally fall into three types, and the type determines much of what follows.
A ready-for-occupancy (RFO) purchase from a developer means the house exists, you can inspect it, and the developer handles much of the paperwork. You pay more for that certainty, but the risk profile is lower and the timeline is shorter.
A pre-selling purchase means you are buying a house that is planned or under construction, usually at a lower price and with a stretched-out down payment. The trade is time and risk: you are trusting the developer to deliver what the brochure promises, years from now. This is where developer vetting matters most, and where the law requires the project to hold a License to Sell from the DHSUD (the Department of Human Settlements and Urban Development) before units can legally be sold.
A resale purchase from a private owner often gets you a better location or a larger lot for the money, but the due diligence burden shifts to you. There is no developer standing behind the transaction — the title, the taxes, and the property's real condition are yours to verify.
Decide early which of these paths fits your situation, because your budget, financing, and due diligence checklist all flow from it.
Step 1 — Set Your True Budget, Not Just the Purchase Price
The number on the listing is not the number you will spend. A realistic budget has at least four layers.
First, the price itself and how it behaves. Pre-selling prices typically escalate as construction progresses; resale prices are negotiable; RFO developer prices sit somewhere in between.
Second, transaction costs. Transferring a property in the Philippines involves taxes and fees — documentary stamp tax, local transfer tax, registration fees, and notarial fees on the buyer's side in most conventional arrangements, with capital gains tax customarily borne by the seller in resale deals (though everything is negotiable and should be written into the agreement). Taken together, closing costs commonly add several percent on top of the price. Budget for them from the start rather than discovering them at signing.
Third, financing costs: appraisal fees, mortgage redemption insurance, fire insurance, and the interest itself over a 15- to 30-year term. Two loans with the same monthly amortization can have very different total costs.
Fourth, move-in and ownership costs: meter connections, association dues, annual real property tax, and — for many RFO and resale homes — renovation before the house is actually livable.
A useful discipline: your monthly amortization should leave your household comfortable, not stretched. Lenders will compute their own debt-to-income limits, but their ceiling is not your target.
Step 2 — Choose How You'll Pay
There are four common payment paths, and the right one depends on your cash position, income documentation, and timeline.
Cash or deferred cash is the simplest and usually earns the deepest discount, particularly with developers. Deferred cash spreads the price over the construction period at little or no interest — attractive if your income can absorb large monthly payments for a few years.
Bank financing generally offers competitive rates for buyers with strong, documented income. Rates are typically fixed for an initial period (one to five years) and repriced afterward — ask every bank how repricing works, because the teaser rate is not the lifetime rate.
Pag-IBIG financing is the workhorse of Philippine home lending, open to members including self-employed workers and OFWs who may find bank documentation requirements difficult. Pag-IBIG has in recent years raised its maximum loan amount and introduced lower promotional rates tiered by housing segment, which has made it competitive well beyond the socialized-housing market it is often associated with. Confirm the current ceiling, rates, and terms directly with Pag-IBIG before planning around them.
In-house developer financing approves almost anyone but at markedly higher interest rates. It is best treated as a bridge — a way to start the purchase while you work toward bank or Pag-IBIG takeout — rather than a 20-year commitment.
If your plan is financing, the decision in this step is provisional. The real decision comes at Step 3.
Step 3 — Get Pre-Qualified Before You Shop
House-hunting before knowing your borrowing capacity is how buyers fall in love with homes they cannot close on — and how reservation fees get forfeited.
Approach your chosen lender (or two) with your income documents and ask for pre-qualification: an indicative loan amount and monthly amortization based on your income and existing debts. For employees this means payslips, an income tax return, and a certificate of employment and compensation; for the self-employed, financial statements and bank records; for OFWs, an employment contract and proof of remittances. The exact list varies by lender, so ask for it in writing.
Pre-qualification is not loan approval — the property itself must still be appraised and the loan formally processed later — but it converts your budget from a guess into a number, and it signals to sellers and developers that you are a serious buyer.
Step 4 — Shortlist Locations and Properties Deliberately
With a real budget, the search becomes a filtering exercise rather than a browsing habit.
Filter first by location fundamentals: commute to work or school, flood history (ask neighbors and check how the street looks in the rainy season, not just on a sunny tripping day), access to transport, and the trajectory of the area — planned roads, commercial developments, and infrastructure tend to pull values up over time.
Then filter by property fundamentals: lot and floor area, structural condition for resale homes, developer build quality for new ones, and the rules of the subdivision or community you would be joining. Visit at different times of day. A street that is quiet at 10 a.m. on a Tuesday can be a different place at 7 p.m.
Resist the urge to reserve on the first tripping. Reservation fees are typically non-refundable, and the discipline of comparing three to five serious options is the cheapest insurance you will ever buy.
Step 5 — Vet the Seller or Developer
Who you buy from matters as much as what you buy.
For a developer purchase, look at the track record: completed projects, delivery against promised timelines, and the condition of communities they turned over five or ten years ago. For pre-selling specifically, verify that the project has a DHSUD License to Sell — this is a legal requirement, and its absence is a walk-away signal, not a negotiating point. Deal with the developer's accredited sellers or licensed brokers, and be wary of anyone asking you to pay reservation money into a personal account.
For a resale purchase, verify that the person selling is actually the registered owner — or holds a proper, notarized (and if executed abroad, apostilled) Special Power of Attorney from the owner. Married sellers generally need the spouse's consent. If the owner has died, the property must go through estate settlement before it can be validly sold; a bargain price on an unsettled estate is a problem, not an opportunity.
If you are working with an agent or broker, confirm their professional license. Unlicensed intermediaries are a persistent source of botched and fraudulent transactions.
Step 6 — Do Due Diligence on the Property Itself
This is the stage that separates careful buyers from cautionary tales, and it belongs before you sign anything binding.
For resale properties, obtain a certified true copy of the title — a Transfer Certificate of Title for a house and lot — from the Registry of Deeds yourself, rather than relying on the photocopy the seller hands you. Check that the registered owner matches the seller, that the technical description matches the property you visited, and that the title's annotations page is clean of mortgages, liens, notices of lis pendens, or adverse claims. Cross-check the tax declaration and ask for proof that real property taxes are paid up to date. Where the boundaries are unclear or the lot is part of a larger parcel, a relocation survey by a licensed geodetic engineer is money well spent.
For pre-selling purchases, due diligence shifts to the project: the License to Sell, the approved plans, the master deed and restrictions, and the developer's history noted above.
For any house, inspect the structure itself — roof, plumbing, electrical, signs of flooding or settling — ideally with a professional if the purchase is substantial. An engineer's inspection fee is trivial against the cost of a compromised structure.
Step 7 — Reserve the Property and Read Before You Sign
Once you commit, the paperwork begins — and the order of documents matters.
The reservation agreement takes the property off the market for a fee, commonly non-refundable. Before paying it, get the full computation sheet in writing: total contract price, down payment schedule, balance, and every fee. Verbal promises from a selling agent do not survive contact with a signed contract.
For purchases paid over time, the operative document is the Contract to Sell (CTS): the seller commits to transfer ownership once you complete payment. Read it in full — particularly the provisions on payment default, cancellation and refunds, delivery dates, and penalties. For pre-selling buyers, Philippine law (the Maceda Law for installment buyers, and the subdivision and condominium buyer-protection statute) provides meaningful protections around refunds and cancellation; understanding them before signing is far more useful than discovering them during a dispute.
For straight purchases — cash, or once financing releases the full price — the operative document is the Deed of Absolute Sale (DOAS), which actually conveys ownership and must be notarized to be registrable.
This is the stage where engaging your own lawyer, even briefly, earns its fee. The seller's documents are drafted to protect the seller.
Step 8 — Complete Financing, Appraisal, and the Deed of Sale
If you are borrowing, the lender now moves from pre-qualification to real approval. The bank or Pag-IBIG will appraise the property, and the loan is computed against the appraised value, not the selling price. If the appraisal comes in below the price, the gap is yours to fill in cash — one more reason not to overpay at Step 4.
Expect a document-heavy stretch: the property's title and tax documents, the seller's identification and authorizations, your income papers again, and insurance requirements. Once approved, the sequence at closing is coordinated so that the loan proceeds are released against the signed, notarized Deed of Absolute Sale and the owner's duplicate title. In practice, banks manage this handover — one of the quiet advantages of financed purchases over informal cash deals.
Step 9 — Pay the Taxes and Transfer the Title
Signing the deed makes you an owner in contract; registration makes you the owner on record. Do not stop at the deed.
The transfer runs through three offices, in order. At the BIR, the taxes on the sale are filed and paid — capital gains tax and documentary stamp tax, computed on the higher of the selling price or the BIR's zonal valuation — within strict deadlines counted from notarization, after which the BIR issues the electronic Certificate Authorizing Registration (eCAR). At the city or municipal treasurer, the local transfer tax is paid. At the Registry of Deeds, the deed, eCAR, and supporting documents are presented, registration fees are paid, and a new title is issued in your name. Finally, the assessor's office updates the tax declaration so future real property tax bills come to you.
Deadlines here have teeth — late filings accrue surcharges and interest — and the process rewards either patience or a trusted professional (a lawyer, licensed broker, or reputable title-transfer service) doing it on your behalf. In developer purchases, transfer handling is often built into the fees you already paid; confirm who is responsible and by when.
The purchase is finished when you hold the owner's duplicate of the new title in your name, the updated tax declaration, and the full set of receipts. Keep them together, and keep copies elsewhere.
Step 10 — Turnover and What Comes After
For new builds, insist on a proper turnover inspection. Walk the house with a punch list — finishes, doors and windows, plumbing fixtures, drainage, electrical points — and have defects documented and corrected before you accept. Acceptance usually starts the clock on the developer's warranty periods, so read what those cover.
Then comes ownership itself: annual real property tax at the local treasurer's office (paying early in the year often earns a discount), association dues and community rules if you bought within a subdivision, and adequate insurance on the structure. If the property will be rented out rather than lived in, registration and tax obligations on rental income follow — a topic for its own guide.
A Note for OFWs Buying From Abroad
A large share of Philippine home purchases are made by Filipinos who are not in the Philippines, and the process accommodates this — with paperwork. The standard instrument is a Special Power of Attorney appointing someone you trust (very deliberately chosen) to sign and transact on your behalf; executed abroad, it must be apostilled or authenticated through the Philippine embassy or consulate to be honored at home. Pag-IBIG and most banks maintain OFW loan programs with document requirements adapted to overseas employment. The due diligence steps above do not shrink because you are far away — if anything, they matter more, and independent verification (not solely the selling agent's assurances) is the rule.
The Short Version
Know what type of purchase you are making. Budget for the true cost, not the listed price. Choose a financing path and get pre-qualified before you shop. Compare seriously, vet whoever you are buying from, and verify the title or the license before money moves. Read the contracts you sign, finish the transfer all the way to a title in your name, and inspect before you accept.
Every step in that sequence is easier with the right information and the right people. That is the journey The Block Market is built around — from exploring verified listings and developer track records to finding licensed brokers, lawyers, and inspectors who do this every week. Start where you are in the journey, and build from there.
Ready to explore properties?
Search PropertiesAbout the Author
More from Nicole Abanilla
- What Is an Assume-Balance Property? Benefits, Risks and Warning SignsSeptember 13, 2026
- What Is a Transfer Certificate of Title or TCT?September 13, 2026
- What Is a Condominium Certificate of Title or CCT?September 13, 2026
Continue Reading

Buying a Condo in the Philippines: Everything First-Time Buyers Should Know
A condo is legally and financially different from a house — a private unit fused to a shared community with its own budget and rules. This guide covers what first-time buyers actually own, the real recurring costs, the 50-year question, pre-selling versus RFO versus resale, and the due diligence that protects your money.
Nicole Abanilla · September 5, 2026 · 10 min read
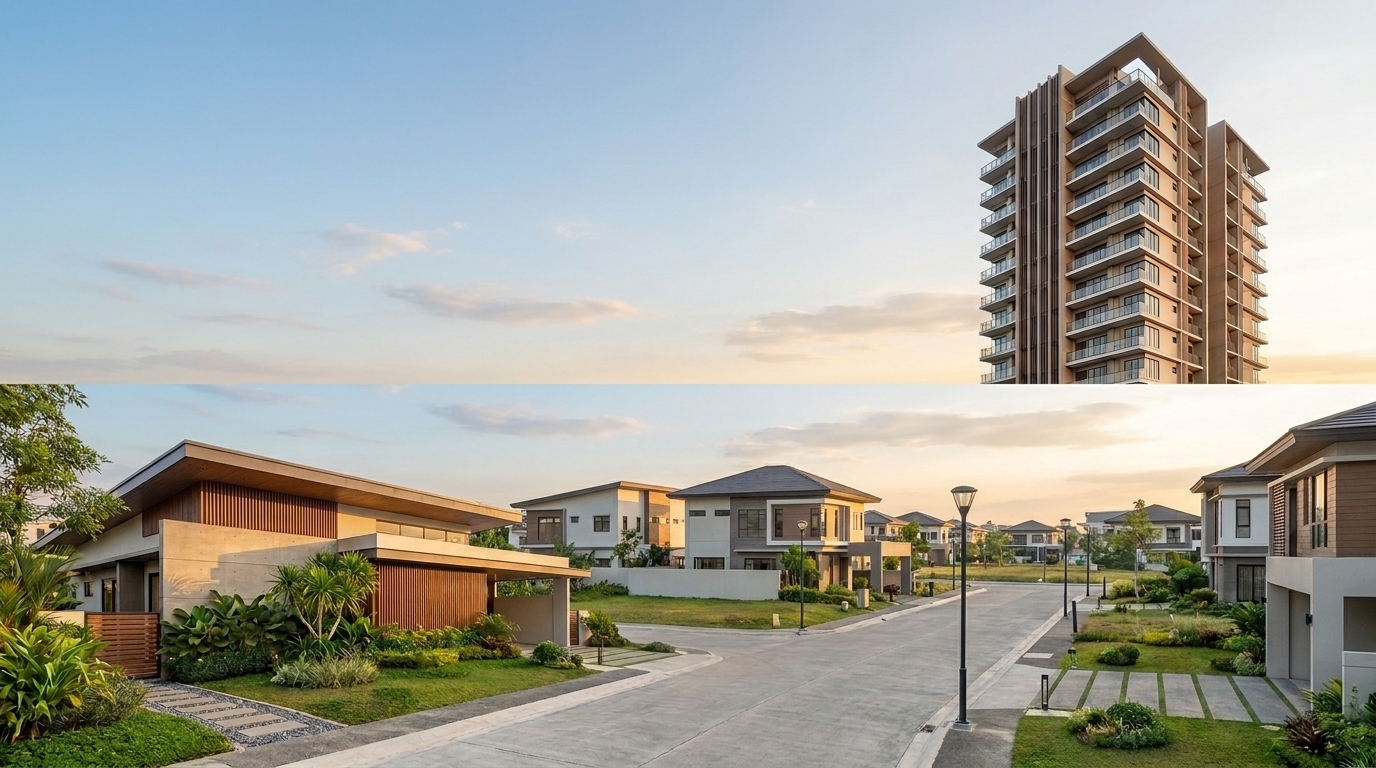
House and Lot vs Condo: Which Is Better in the Philippines?
A house and lot and a condo are different assets, not different prices for the same thing. This guide breaks the decision into five trade-offs — ownership, cost shape, location, lifestyle control, and exit — and gives honest verdicts by buyer situation, from CBD professionals to OFWs buying for family.
Nicole Abanilla · September 5, 2026 · 9 min read
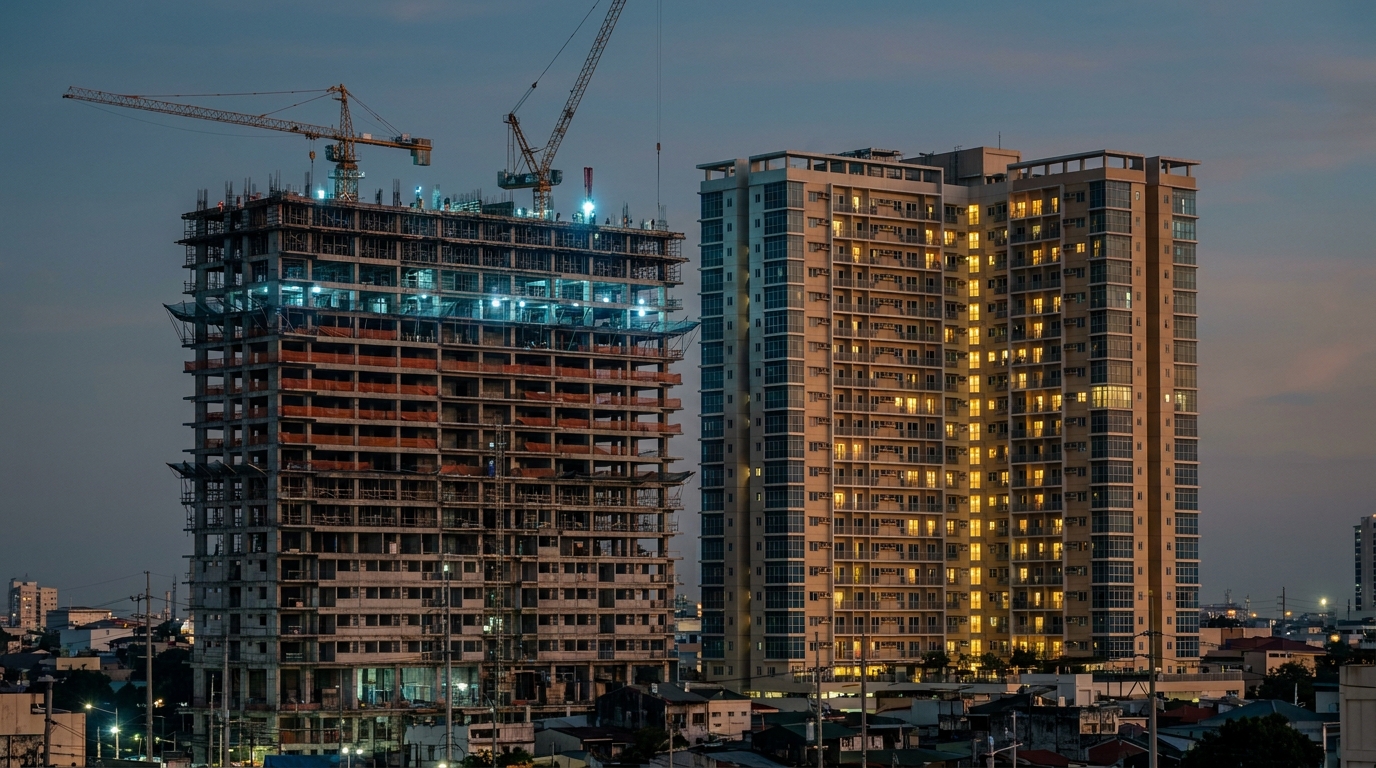
Pre-Selling vs Ready-for-Occupancy Property: Which Should You Buy?
Pre-selling is cheaper for a reason: the discount is payment for risks the developer is handing you — delivery, expectations, financing, and time. This guide prices each risk, shows how to shrink it, explains what RFO's premium actually buys, and gives clear verdicts for end-users, OFWs, and investors.
Nicole Abanilla · September 5, 2026 · 8 min read